
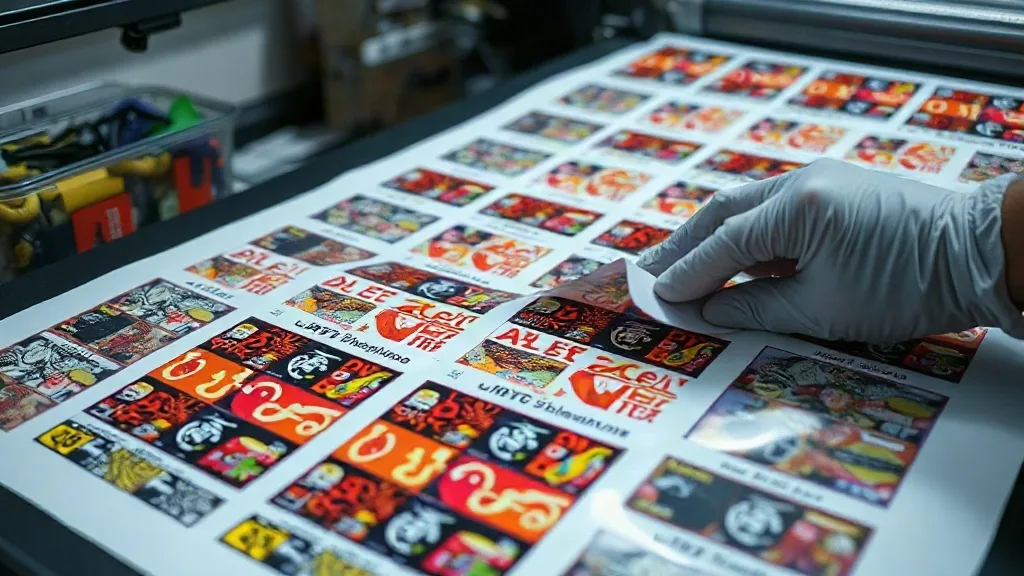
Every DTF printer knows the sting of peeling away a fresh sheet and seeing a graveyard of empty film between the transfers. That wasted space is wasted money. In a market where margins are tight, mastering the DTF Gangsheet isn't just about fitting more designs; it's about running a leaner, more profitable operation. This guide goes beyond basic nesting and dives into the practical decisions that separate a wasteful shop from a profitable one.
Why Film Waste Is Your Silent Profit Killer
Film, powder, and ink are your recurring costs. When you leave large gaps or print inefficient layouts, you're paying for materials that never become a sellable product. Over a month, those inches add up to rolls. The solution isn't just tighter nesting; it's a mindset shift. Every gangsheet should be planned with the same care you give to color accuracy or print quality.
Start by tracking your waste. For one week, measure the unused area on each sheet. You'll likely find that 15-20% of your film goes to waste. That's a direct hit to your bottom line. Once you see the numbers, you can't unsee them. The good news is that with a few adjustments, you can reclaim most of that loss.
Strategies to Reduce Film Waste on Every DTF Gangsheet
Reducing waste isn't about cramming every inch; it's about smart planning. Here are proven tactics that work in real production environments.
1. Optimize Your Nesting with Real Dimensions
Nesting software is only as good as the data you feed it. Ensure your design files have accurate dimensions, including any necessary bleed or cut lines. A common mistake is using approximate sizes, which leads to overlaps or gaps. Take the extra minute to verify each design's true footprint. Then, use your RIP software's auto-nesting feature, but always review the result. Sometimes manual adjustments can squeeze in an extra small design.
2. Group Similar Sizes and Shapes
Odd-shaped designs create awkward gaps. Grouping similar shapes together allows for tighter packing. For example, place rectangular logos in one area and circular badges in another. This reduces the jigsaw puzzle effect and maximizes film usage. Also, consider rotating designs if the orientation doesn't affect the final transfer.
3. Use a Standard Sheet Size
Standardizing your gangsheet size simplifies planning and reduces trim waste. Choose a size that matches your printer's capabilities and your typical order volume. For many shops, a 13x19 inch or 22x24 inch sheet works well. By sticking to one size, you can pre-plan layouts and even reuse templates for recurring orders. This consistency also makes it easier to calculate costs per transfer.
4. Implement a Scrap Utilization System
Even with careful planning, you'll have some scrap film. Don't toss it. Keep a bin for usable scraps and use them for small test prints or tiny designs like care labels or size tags. You can also stitch smaller pieces together for a gangsheet if your printer allows. This might seem minor, but it adds up to significant savings over time.
5. Train Your Team on Waste Awareness
If you have employees, make waste reduction a shared goal. Show them how to check nesting before printing and encourage them to suggest improvements. A simple checklist before pressing print can prevent costly mistakes. Celebrate milestones when waste drops, and tie bonuses to efficiency metrics if possible.
Balancing Speed and Savings
Efficiency isn't just about material savings; it's also about time. A gangsheet that takes an extra 10 minutes to plan but saves a roll of film per month is worth it. However, don't over-optimize to the point of slowing down production. Find a sweet spot where planning time is reasonable and waste is minimized. For most shops, spending 5-10 minutes per sheet on nesting is a good balance.
Also, consider batching orders. Instead of printing one sheet per order, accumulate orders and print larger gangsheets less frequently. This reduces setup time and allows for better nesting. Communicate lead times clearly to customers so they understand the benefits.
Real-World Example: From Wasteful to Profitable
Take a small shop that prints 50 sheets per week. Before optimizing, they wasted about 18% of film. After implementing the strategies above, they reduced waste to 8%. That 10% savings on film, powder, and ink translated to an extra $200 per week in profit. They also reduced rework because better nesting meant fewer misprints. The owner reinvested that savings into a second printer, doubling capacity within six months.
Frequently Asked Questions
How can I calculate the maximum number of designs on a DTF gangsheet?
Use your RIP software's nesting tool to automatically arrange designs, then check the utilization percentage. Aim for at least 85% coverage. Manually adjust by rotating or grouping similar shapes to fill gaps.
What's the best way to handle odd-shaped designs that create gaps?
Pair them with smaller designs that fit into the negative space. Alternatively, rotate the odd shape if the design allows, or place it at the edge of the sheet to minimize wasted area.
Does film waste really impact my profit that much?
Absolutely. Film, powder, and ink are ongoing costs. Reducing waste by even 10% can increase your profit margin by 5-7%, depending on your pricing. Over a year, that's substantial.
Can I reuse scrap film for other purposes?
Yes, use small scraps for test prints, color swatches, or tiny labels. If your printer supports it, you can also piece together scraps for a gangsheet, but ensure proper adhesion to avoid jams.
How often should I review my gangsheet layouts for waste?
Review layouts weekly or after any major order change. Regularly check your waste percentage and adjust your nesting strategy as needed to maintain efficiency.