
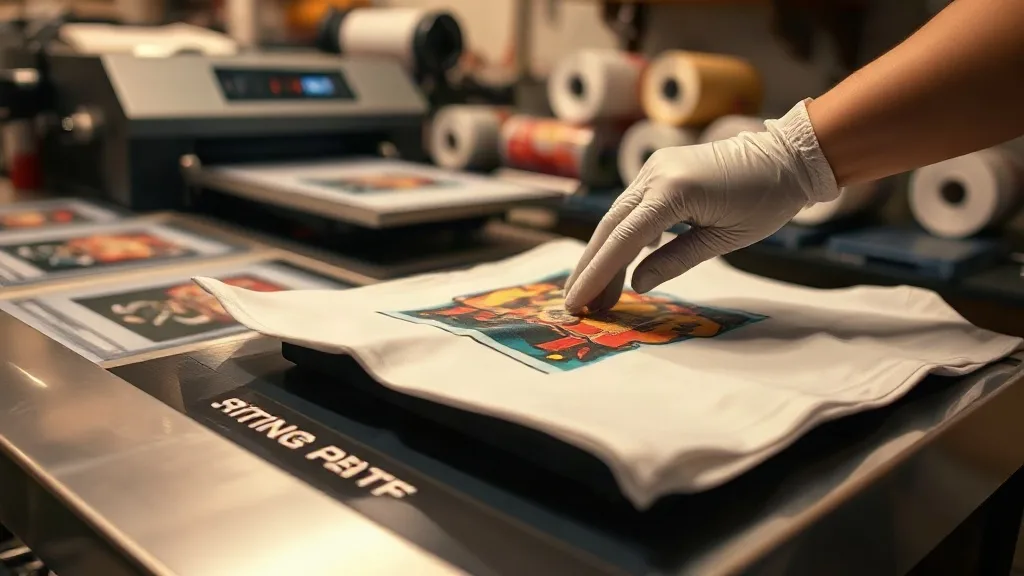
You've invested in a DTF printer, picked your designs, and pressed your first shirt. But instead of a vibrant, durable print, you're staring at a cracked, faded, or peeling image. Frustrating, right? You're not alone. Even experienced printers run into issues with dtf transfers from time to time. The good news is that most problems have straightforward solutions once you know where to look.
In this guide, we'll walk through the most common DTF printing problems, from film wrinkles to washing failures, and give you actionable steps to fix them. Whether you're a small shop owner or a hobbyist, these tips will help you get consistent, professional results.
Why Troubleshooting Matters in DTF Printing
DTF printing involves several variables: the printer, ink, powder, film, and heat press. A small deviation in any of these can throw off your entire output. Unlike other decoration methods, DTF has a unique workflow that requires precise coordination. That's why understanding the root causes of common issues is key to saving time, money, and materials.
Plus, when you master troubleshooting, you can confidently offer dtf transfers as a reliable service, knowing you can handle whatever comes your way.
Common DTF Transfer Problems and How to Fix Them
Let's dive into the specific issues you might encounter and the solutions that work.
1. Poor Adhesion: Prints Peel or Lift After Washing
This is probably the most common complaint. You press the transfer, it looks great, but after a few washes, edges start to lift or the whole design peels off. There are several reasons this happens.
- Insufficient pressure or time: If the heat press doesn't apply enough pressure or you don't press long enough, the adhesive won't fully bond with the fabric. Check your press settings: typically, 320°F (160°C) for 15-20 seconds with medium-heavy pressure.
- Fabric type mismatch: DTF works on many fabrics, but some (like nylon or treated polyester) may require a higher temperature or a special adhesive powder. Always test on a swatch.
- Moisture in the garment: Pre-press the shirt for a few seconds to remove moisture. Excess moisture can create steam and prevent proper adhesion.
- Old or poor-quality powder: Adhesive powder can absorb moisture over time. Store it in an airtight container and use fresh powder.
If you're experiencing adhesion issues, try increasing pressure first, then temperature slightly. Also, ensure you're using the correct powder for your fabric type.
2. Dull or Faded Colors
Your design looked vibrant on screen, but the printed transfer appears washed out. This can be due to several factors.
- Ink coverage: Make sure your printer is laying down enough ink. Check for clogged nozzles or low ink levels. A nozzle check pattern can reveal issues.
- Incorrect powder application: Too much powder can dull the colors. Shake off excess powder gently before curing.
- Curing temperature too high: Overcuring the powder can cause it to yellow or scorch, affecting color. Follow the powder manufacturer's recommendations.
- Pressing temperature too high: If the press is too hot, it can scorch the ink. Use a lower temperature or a protective sheet.
Also, consider the fabric color: printing on dark shirts requires a white ink underbase, which DTF automatically provides, but if the white layer is too thin, colors may appear muted.
3. Film Wrinkles or Curling
Wrinkled film can ruin a print by causing uneven powder application or poor transfer. Here's how to prevent it.
- Storage: Store film rolls flat and in a cool, dry place. Avoid stacking heavy objects on them.
- Printer feed: Ensure the film is loaded correctly and not too tight. Adjust the roll tension if possible.
- Environmental humidity: High humidity can cause film to absorb moisture and wrinkle during printing. Use a dehumidifier if needed.
- Handling: Handle printed film by the edges; oils from your skin can affect adhesion.
If film curls during printing, try reducing the ink density or adjusting the platen temperature (if your printer has one).
4. Powder Not Sticking to the Ink
After printing, you apply adhesive powder to the wet ink. If the powder doesn't stick, the transfer will fail. Causes include:
- Ink drying too fast: In low humidity, ink can dry before powder application. Work quickly or increase humidity slightly.
- Too little ink: Ensure sufficient ink coverage. Check your printer settings for ink limits.
- Expired ink: Old ink may not have the right viscosity. Use fresh ink and store properly.
Also, make sure you're using the correct powder size (fine powder for detailed designs).
5. Ghosting or Double Image
Ghosting occurs when the transfer shifts during pressing, creating a blurred or double image. To prevent it:
- Secure the transfer: Use heat-resistant tape to hold the transfer in place.
- Press technique: Lower the press gently and evenly. Avoid sliding the transfer.
- Peel method: For cold peel, wait until completely cool before peeling. For hot peel, peel immediately in one smooth motion.
If ghosting happens, check if your press has uneven pressure. Adjust as needed.
6. Transfer Sticking to the Press Sheet
Sometimes the transfer adheres to the protective sheet or parchment paper instead of the garment. This can happen if:
- Too much pressure: Excessive pressure can force adhesive through the fabric. Reduce pressure.
- Incorrect peel temperature: Follow the recommended peel method (hot vs. cold).
- Sheet reuse: Replace worn or contaminated press sheets.
Also, ensure the garment is flat and free of wrinkles before pressing.
Preventive Measures for Consistent Results
While fixing issues is important, preventing them is even better. Here are some best practices:
- Maintain your printer: Regular cleaning and maintenance keep nozzles clear and ink flowing smoothly.
- Control your environment: Aim for 60-70°F (15-21°C) and 40-60% humidity. Too dry or too humid conditions affect film and ink.
- Use quality supplies: Cheap film or powder can cause endless problems. Invest in reputable brands.
- Test regularly: Run test prints and wash tests to catch issues early.
If you're looking for reliable dtf transfers near me, consider sourcing from a trusted supplier who offers consistent quality. Many professionals also keep a log of settings for different fabrics to streamline production.
When to Seek Professional Help
Some issues, like printer malfunctions or persistent color problems, may require expert intervention. If you've tried the basic troubleshooting and still struggle, don't hesitate to contact your printer manufacturer or a technician. Also, joining online forums or local printing groups can provide valuable insights from experienced users.
Remember, dtf printing is a skill that improves with practice. The more you print, the better you'll become at diagnosing and solving problems quickly.
Frequently Asked Questions
Why do my DTF transfers crack after washing?
Cracking usually indicates insufficient adhesion or overcuring. Ensure you're using the correct press settings (temperature, pressure, time) and that the powder is fully cured. Also, wash garments inside out in cold water and avoid harsh detergents.
Can I use DTF transfers on cotton and polyester?
Yes, DTF works on both cotton and polyester, as well as blends. However, 100% polyester may require a lower pressing temperature to avoid dye migration. Always test on a small area first.
How do I store DTF transfers before use?
Store unused transfers in a cool, dry place away from direct sunlight. Keep them flat or rolled loosely to prevent creases. Proper storage maintains the adhesive quality.
What's the best way to peel a DTF transfer?
Peel method depends on the film type: hot peel (immediately after pressing) or cold peel (after cooling completely). Follow the instructions provided with your transfers. Peeling at the wrong temperature can cause design distortion.
How long do DTF transfers last?
With proper application and care, DTF transfers can last as long as the garment itself, often 50+ washes. Avoiding bleach and high heat in the dryer extends their life.