
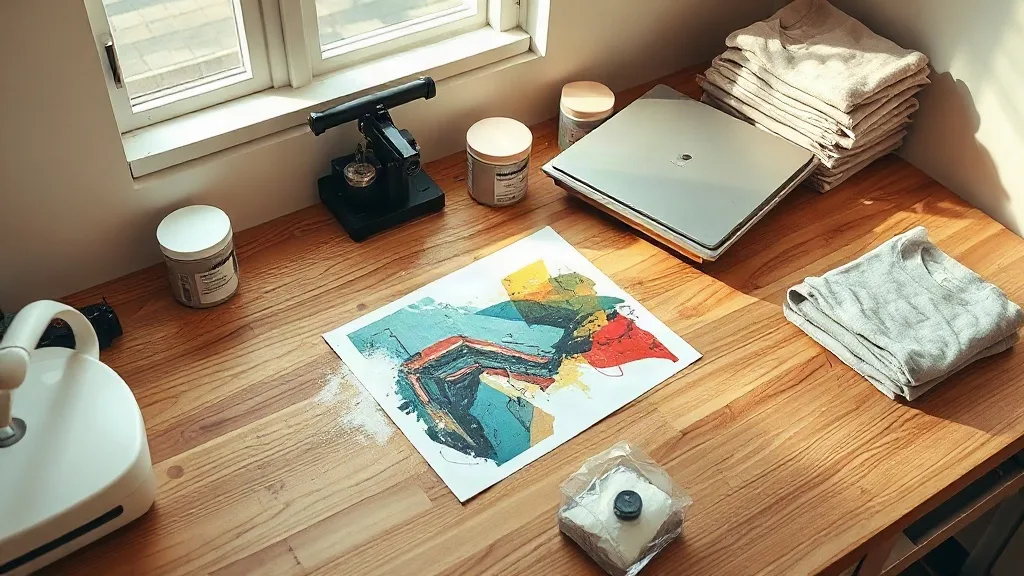
If you run a small print operation, you have probably fielded the same request more and more often: a customer wants twelve shirts with a photo-quality design, in six different colors, by Friday. Screen printing punishes that order with setup time, and vinyl cutting punishes it with weeding. This is where dtf transfers have earned a permanent spot on many shop benches. The method lets you print a full-color design once, cure it, and press it onto cotton, polyester, blends, and even some nylon without changing a thing about the artwork.
What follows is not a sales pitch. It is a working guide built around the questions that come up in the first few months of running dtf in a real shop: which supplies matter, how to set the press, what goes wrong and why, and where the economics stop making sense.
How the DTF process actually works
The sequence is short enough to explain in a minute, but every step has a narrow tolerance. A printer lays down water-based pigment ink onto a coated PET film in mirror image. While the ink is still wet, a thermoplastic adhesive powder is applied across the design. The powder sticks only to the ink. The film then goes into a curing oven or under a heat source until the powder melts into a continuous plastic layer. That melted layer is the glue that will bond to fabric later.
At press time, the transfer is placed powder-side down on the garment, covered with a protective sheet, and pressed. Heat and pressure re-melt the adhesive so it flows into the fabric fibers, and the film carrier is peeled away while still warm. What remains is a thin, flexible print with a soft hand feel that survives normal washing when the settings are right.
Two details separate a durable result from a print that cracks in a month. The first is complete powder coverage; bare ink patches become weak points. The second is even pressure across the platen. A press with a worn silicone pad will bond the center of a design and leave the edges under-cured, and no amount of fiddling with temperature will fix that.
Choosing film and powder for your shop
Suppliers sell film in two broad categories, and the difference matters more than the price tag suggests.
- Cold-peel film is designed to be removed after the garment has cooled. It tends to give sharper edges on fine detail and small text, which makes it the safer default for logos with thin strokes.
- Hot-peel film releases while still warm. It is more forgiving on stretchy fabrics and often produces a slightly softer finish, but it demands consistent timing because the peel window is short.
Powder comes in fine, medium, and coarse grades. Fine powder gives a smoother surface and better detail on small elements but can be fussy to apply evenly. Coarse powder builds a thicker adhesive layer that handles textured fabrics and heavy washes well, at the cost of a stiffer hand feel. Most shops keep one grade of each on the shelf and match them to the job.
Humidity is the quiet saboteur here. Powder absorbs moisture from the air, clumps, and then fails to melt evenly. If your workroom swings between damp mornings and dry afternoons, store powder in sealed containers with a desiccant pack and give the container a shake before each use.
Press settings that hold up in production
Exact numbers vary by press, film brand, and fabric, so treat the following as a starting point and then test your way to your own numbers.
Temperature and time
Most films press in the 150 to 160 degrees Celsius range for 10 to 15 seconds. Cotton holds up well at the higher end. Polyester is less tolerant and can show heat marks or dye migration if you push too hard, so drop the temperature slightly and add a couple of seconds instead. Always use a protective sheet between the platen and the transfer; direct contact with a dirty platen transfers lint and old adhesive straight onto your print.
Pressure
Medium pressure is the usual recommendation, but the practical test is visual. After pressing, the design should show a faint fabric texture through the adhesive layer. If the print looks glassy and flat, you are over-pressing and flattening the fibers. If the edges lift when you peel, you need more pressure or a longer dwell.
Peel and second press
Follow the film's peel direction, then run the garment through a second short press under the protective sheet. This second pass is not optional in a production setting. It smooths the adhesive into the fibers and noticeably improves wash durability.
Troubleshooting the failures you will actually see
Almost every problem in dtf work traces back to one of four causes: moisture, incomplete curing, uneven pressure, or the wrong peel temperature.
- Print cracks after a few washes. The powder did not fully melt, or coverage was patchy. Increase curing time and check that no bare ink is visible before curing.
- Design lifts at the corners. Pressure is uneven or the corners cooled before bonding. Repress with a fresh protective sheet and check your platen pad for wear.
- Film will not release cleanly. You peeled at the wrong temperature for the film type. Cold-peel film removed too warm will stretch and tear the design.
- Colors look dull on dark garments. The white ink layer is too thin. White ink laydown is what makes a transfer opaque, and skimping on it is the most common false economy in the process.
- Sticky residue around the edges. Excess powder was not shaken off before curing. Brush the film gently before it enters the oven.
Where DTF fits in a shop's workflow
The honest answer is that DTF is not a replacement for screen printing on long runs. Once you pass a few dozen identical pieces, screen printing wins on cost per unit and often on hand feel. DTF earns its place in the gaps: short runs, multi-color artwork, photographic designs, names and numbers, and orders where setup time would eat the margin.
It also changes how you quote. Because there is no per-color cost, you can price a six-color design the same as a one-color design, which is a genuinely useful selling point for small businesses, sports teams, and event organizers. Many customers searching for dtf transfers near me are exactly these buyers: they want a local shop that can turn around a small, detailed order quickly.
One workflow habit worth building early: gang similar jobs onto a single film. Print several small designs in one pass, cure them together, and store the cut transfers in labeled sleeves. The time savings compound quickly once order volume picks up.
Storage and handling between print and press
Cured transfers keep well if they are protected from moisture, dust, and direct sunlight. Flat storage in a sealed bag or a binder sleeve works better than stacking loose films, which encourages the adhesive to pick up debris. Keep them away from heat sources; a shelf above a press is the worst possible home for a box of transfers.
Label every sleeve with the film type, cure date, and intended fabric. Three weeks later, when a customer returns for a reorder, that label saves you from guessing whether the job was cold peel or hot peel.
Frequently asked questions
Can DTF transfers be applied to 100% polyester without damaging the fabric?
Yes, with adjustments. Lower the press temperature by roughly 10 degrees and add a few seconds to the dwell time. Use a protective sheet, and test on an inside seam first if the garment is a delicate or heat-sensitive blend.
How many washes should a properly pressed DTF transfer survive?
A well-cured, well-pressed transfer on compatible fabric typically holds up through dozens of home wash cycles. Longevity depends far more on curing and pressure than on the film brand, so invest your effort in those two variables.
Do I need a specialized printer to make DTF transfers in-house?
You need a printer that handles white ink and a curing setup capable of melting powder evenly. Many shops start by ordering ready-made transfers and only move to in-house production once volume justifies the equipment and the maintenance routine.
Why does my transfer feel stiff compared with a screen print?
Hand feel is driven by powder grade and ink laydown. Switching to a finer powder, reducing the white ink thickness where the design allows, and avoiding over-pressing will all soften the result noticeably.
Is DTF suitable for items other than T-shirts?
It works on totes, aprons, hoodies, and many workwear pieces, provided the fabric can take the press temperature. Test coated or water-resistant materials first, since some finishes will not accept the adhesive at all.